How to Build a Budget-Friendly Patio in a Single Weekend
Why the Backyard Stays Empty
Walk through almost any neighborhood on a summer evening and you’ll notice a pattern: wooden decks with peeling stain, concrete slabs cracked down the middle, or more often than anyone admits just a rectangle of scraggly grass where something better was always meant to go. People don’t avoid building patios because they lack vision. They avoid it because they’ve been told, at some point, that it costs a small fortune and demands a contractor with a schedule booked three months out.
That assumption deserves to be challenged. A well-designed patio does not require a crew, a permit in most jurisdictions, or a budget that makes you hesitate before opening your credit card statement. What it requires is a clear plan, a realistic material choice, and a weekend where you’re willing to be genuinely tired by Sunday evening. That’s it.
This isn’t about cutting corners. It’s about understanding which corners were never load-bearing to begin with.
The Material Decision Changes Everything
Before a single shovel breaks ground, the most consequential decision is already in front of you: what are you building with? Poured concrete is durable but demands mixing, forming, and a level of finish work that punishes amateurs. Wooden decking involves ledger boards, joists, and fasteners that compound in complexity fast. For a single-weekend, budget-conscious build, neither of those is the smart play.
Gravel-set pavers are the answer most experienced DIYers have quietly been using for years. The material itself whether you choose concrete pavers, natural flagstone, or reclaimed brick runs anywhere from $1.50 to $4.00 per square foot at most big-box hardware stores. A 12-by-16-foot patio, which is generous enough for a table and four chairs, lands somewhere between $290 and $770in materials depending on what you select. Compare that to professional installation quotes, which typically start around $3,000 for the same footprint, and the math becomes almost embarrassing.
Concrete pavers are the most forgiving. They come in consistent sizes, which makes pattern planning straightforward, and they interlock well enough that you don’t need mortar. Flagstone looks more organic and handles aesthetic variation gracefully, but the irregular shapes require more patience during the layout phase. Reclaimed brick brings character that no new product can replicate, and salvage yards will often sell it cheap sometimes under a dollar per brick if you’re willing to clean the old mortar off yourself.
What the Weekend Actually Looks Like
Saturday starts with excavation, and there’s no elegant way to describe this part. You’re digging down roughly six to eight inches across the entire project area. For a standard patio size, that’s somewhere between one and two tons of soil moving by hand. Rent a sod cutter the day before from your local equipment rental shop usually $65 to $90 for a half-day and it will reduce a four-hour job to about ninety minutes. Don’t try to muscle through it with a spade. That’s how backs get ruined before lunch.
Once the area is excavated, lay down landscape fabric. It suppresses weed growth and it costs almost nothing. Then comes the base layer: a four-inch bed of compactable gravel, also called road base or crushed stone. This is the structural foundation that most DIY guides rush past, and it’s the reason some homemade patios wobble and shift within a season while others hold solid for a decade. Tamp this layer in stages two inches at a time using a plate compactor, which you can rent for about $60 a day. Don’t skip the compactor and try to stomp it flat. The difference in long-term stability is not marginal.
On top of the compacted gravel, spread a one-inch layer of coarse sand. Screed it level using a straight piece of lumber dragged across two parallel screed rails lengths of galvanized pipe work perfectly and cost about eight dollars each. This sand layer is what lets you make micro-adjustments to each paver’s height, which becomes critical when you realize that “level” and “flat” are slightly different goals. The surface should slope away from any structures at roughly one-quarter inch per foot to prevent water from pooling.
Sunday is for setting pavers. Start from a fixed corner typically the one most visible from the house and work outward. Set each paver firmly into the sand, check it with a level, and move on. The rhythm becomes almost meditative after the first hour. When everything is in place, fill the joints with polymeric sand: sweep it into the cracks, blow off the excess, then mist the whole surface with water. It activates a binding agent in the sand that locks everything together and dramatically reduces weed intrusion.
By late Sunday afternoon, you should be done. Not almost done. Done.
The Tools You Actually Need (And Which Ones You Don’t)
Hardware stores have a way of making every project feel like it requires its own specialized toolkit. A patio build genuinely does not. The core list is shorter than people expect: a sod cutter (rented), a plate compactor (rented), a rubber mallet, a hand tamper for edges, a level, a tape measure, a straight board for screeding, and a masonry chisel if you need to cut pavers to fit edges. A circular saw fitted with a diamond blade makes cleaner cuts, but unless you have one already, the chisel method works fine for a first build.
What you don’t need: a wet saw, a laser level, any form of mortar, concrete mixing equipment, or rebar. Seeing those items listed in tutorials tends to make people quietly close the tab and abandon the idea. They belong to a different type of project.
The Geometry Problem Most People Don’t Plan For
Here’s where projects stall mid-build: the edges. A rectangular patio where all four sides divide evenly into your paver size is a fantasy. In practice, you will almost certainly need to cut some pavers to fit the perimeter. This is not a crisis. Score the cut line with a chisel and a hammer, make several firm strikes along the score, and the paver will usually split cleanly. For curves if you’re building a rounded edge rather than a strict rectangle cut pavers incrementally shorter and allow the small gaps to accept extra polymeric sand.
The other geometric reality is slope calculation. Mark the high and low points of your project area before you start excavating. A simple line level and string stretched across the space will tell you what grade you’re working with. If your yard already has a noticeable slope, you may need to add more base gravel on the downhill side to bring everything level. This is the kind of detail that separates a patio that drains properly from one that becomes a shallow pond every time it rains.
Where the Budget Actually Leaks
The material cost is predictable. The surprises live elsewhere. Tool rentals add up if you’re not organized about timing pick everything up Saturday morning and return it Sunday, not in two separate trips. Delivery fees for gravel and sand are frequently higher than people expect; check whether your hardware store offers free delivery above a certain purchase threshold before you book a separate truck. Landscape fabric seems cheap until you realize you bought the flimsy single-layer version that tears during installation the woven geotextile fabric is worth the slight price difference.
The single biggest budget error is under-ordering base material. Compactable gravel loses volume when compacted typically around fifteen percent. Order more than the raw calculation suggests, because a second delivery trip will cost you more in fees than overordering by half a yard would have.
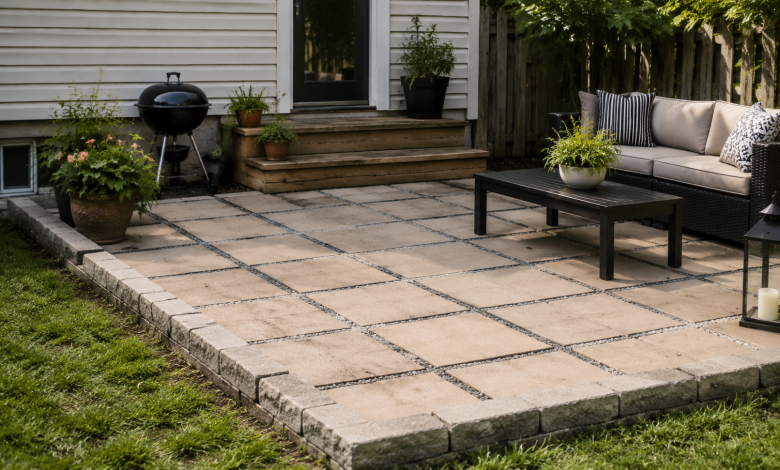
There’s something quietly satisfying about standing on a surface you built yourself, watching the afternoon light catch the texture of stone or brick while a cup of coffee goes cold on the table beside you. The patio you build in a weekend won’t look like a landscape architecture portfolio. It will look like something made by a real person, with real limitations, and that’s precisely what makes it feel like yours.